Peanut Butter and Nutella Cupcake Brownies.

Image

How would I describe it? It was guilty pleasure in a cup. Yeah, that’s exactly what it was. I was craving nutella after a whole year, and I had to make something out of it. So I checked out several recipes, and as usual, combined and modified them. This was a successful experiment. Although, I should admit (and so did my friend, who lick-washed the empty batter bowl!) that the batter itself was much yummier  than the baked cupcakes. Yeah, batter was better. Haha. By the end of this post, you can see why I mentioned the word ‘guilty’. I HAD to go to an intense gym session the next day. Haha.

Ingredients (makes 17-18 cupcake brownies):

  • 3/4 cup sugar
  • 1/3 cup unsalted butter (melted)
  • 2 eggs
  • 1 tsp vanilla extract/essence
  • 1/4 cup flour
  • 1/4 cup coco powder
  • 3/4 cup nutella
  • 1/4 tsp baking powder
  • 1/4 tsp salt
  • 4 tbsp peanut butter (scoops full)
  • Chopped walnuts (optional)

Method:

  1. Preheat the oven at 180ºC. Line a muffin tray with cupcake paper cases.
  2. Combine the butter and sugar until mixed well. You could use an electric hand mixer or a cake beater for this recipe, which would give better results. I don’t have either, so I just used a fork.
  3. Add the eggs and whisk well.
  4. Stir in the flour, vanilla extract, baking powder and salt.
  5. Pour in the nutella. After a good whisk, add the coco powder, and mix well.
  6. Finally, swirl in the peanut butter in to the mixture.
  7. Divide the batter among the prepared cups. Sprinkle the chopped walnuts over each cupcake.
  8. Bake the cupcakes for 25 minutes. You might find them a bit undone when you take them out of the oven, and that’s fine. Let them cool down for about 10-15 minutes, and they will settle.

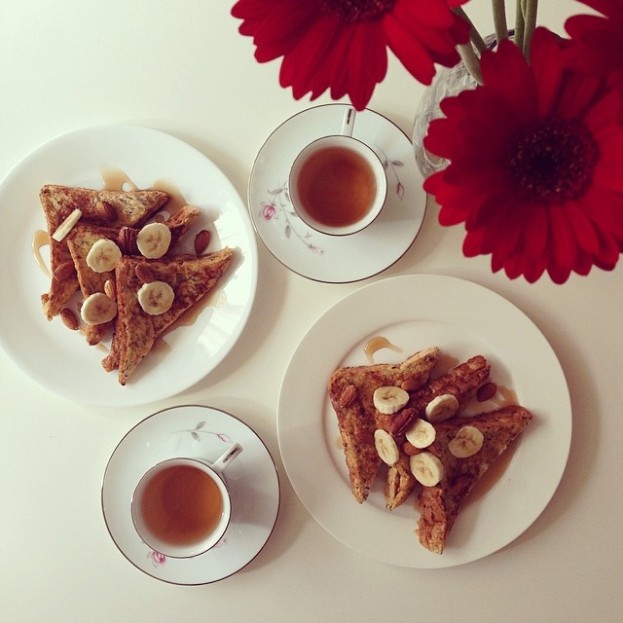
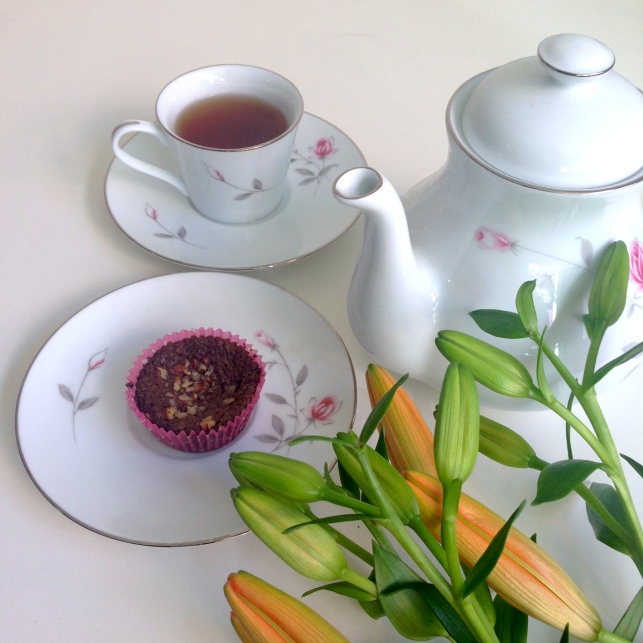
And that’s it! Cupcakes are ready to be served. We had some Chai tea (Twinings brand) in our little tea party 🙂
Let me know if you have any questions!

Until next time,

M.

Pump it up!

Image

I don’t know about you, but I love pumpkins. It’s amazing how you can come up with all sorts of interesting things with this veggie. But one thing about pumpkin is that you might have to have a little battle with it while chopping them. So what I do now is I steam it first. Put a little bit of water in a microwave safe container and put the piece in it and microwave it for about 4 minutes. Chopping and peeling the skin becomes much easier!

Of course, we Maldivians love to make curry out of anything. Pumpkin curry is one of my absolute favourites. So I thought it’s essential that I include it in my blog. Just like in the other curry, I used valhoa mas (smoked tuna) in this too. But you can use chicken instead, if you like. I cooked with chicken once, it tasted just as good.

What you will need:

Image

  • 4 x 4  inch piece of boiled / steamed pumpkin (cubed)
  • 1/2 onion, chopped
  • 3 garlic, chopped
  • 1/2 tsp ginger paste / grated ginger
  • Fistful of curry leaves
  • 1/2 tsp chilli paste OR 1/2 scotch bonnet chilli (I used both!)
  • 1 1/2 tsp tomato paste
  • 1 smoked tuna fillet (cubed)
  • 1 tsp soy sauce
  • 2 1/2 tsp chicken curry powder
  • 1/4 cup coconut milk
  • 1/2 tsp sugar
  • Salt (Amount depends on your preference, I used just a bit less than 1/2 tsp)

Ready to start cooking? Okay!

  1. In a sauce pan at medium heat, saute the onion, garlic, ginger and curry leaves.
  2. Add the tuna and soy sauce. Toss to mix. Put the lid on and cook for about 2 to 3 minutes.
  3. Add the chilli paste and tomato paste along with pumpkin. Toss. Cook for another 2 minutes.
  4. Pour in 1/3 cup of water. Add the curry powder and mix it up. Leave it for about 1/2 a minute.
  5. Mix in the coconut milk, salt and sugar. Cook until it just starts to boil and then simmer for 5 minutes.
  6. Feel proud and enjoy your curry with some steamed rice!

I’ve got to be honest. It tasted much better the first time I cooked it. I don’t know what I did different, guess it’s just a process of continuous experimenting. Anyhow, I hope you enjoy this recipe and please do share your experiences here 🙂 On that note, thanks Luby, for trying out my peanut butter french toast recipe! I’m glad you loved it 😀

Until next time, M.


Huni Havaadhu Riha: A Maldivian Curry.

huni havaadhu rihaOkay, maybe the picture isn’t THAT appealing, but believe me, this was AMAZING. This was the first time I’ve made a havaadhu (curry paste) on my own from scratch. *proud moment*. Thanks to dad, for sharing this recipe. I used valhoa mas (smoked tuna) for my curry, but you could substitute it with raw tuna or chicken, although I’m told that smoked tuna works best.

Okay, so here’s what you’ll need:

For the paste:

  • An onion, chopped in 1 inch cubes
  • Four to five dried chilli
  • Three pieces of garlic
  • Half a tsp of grated ginger
  • Six to eight curry leaves
  • One cup grated coconut (I used packet ones, they were a bit sweeter, but that worked in my favour)
  • 2 table spoons of coconut milk
  • 1 tsp cumin powder
  • 1 tsp chilli powder (you can omit this if you don’t like it too spicy)

For the curry:

  • Smoked tuna fillet, chopped in cubes
  • 1 tbs oil to fry the tuna
  • Salt to taste

Method:

  1. Grind and mix all the ingredients for the paste in a spice blender. You might want to add bits by bits, to make sure it blends and mixes well. If you feel that the paste is a bit too dry, add a bit more coconut milk. Set aside.
  2. In as sauce pan, on medium heat, fry the tuna. Pour the paste over the tuna and toss to coat. Add salt.
  3. Cook it up until it begins to boil, then reduce the heat and let it simmer for about two minutes.

Now, this is best served with roshi (a kind of a Maldivian flat bread). I would have included the recipe for it if I knew how to make it perfectly, but I am probably not the best person to explain it to someone who doesn’t know how to make it at all. But here is a recipe I found online, if you like http://www.maldivescook.com/breads/roshi/.  You can also have it with steamed rice.

Maldivian cuisine is never complete without either Mas Mirus, Masfaiy, or Thelli Faiy. Now those may sound like foreign words to Non-Maldivians, but those are the best Maldivian goodies you can have with curry.

Doesn’t that sound really easy? I don’t know about you, bu I love when recipes are simple and easy. Okay, now I want you to try this and tell me all about it! What are you waiting for?

Until next time, M.


Jana’s Crêpe aux fraises: A review.

photo 2(1)

Jana’s crepes have always been a winner amongst us, girls. So I was really excited when Jana made these the other day and invited us over. Being a person who loves to take pictures of food, it took me a while to actually sit down and taste the food after I got the perfect shot!

I shall acknowledge how much better Jana has got at getting the thickness right! Haha. These were  thin and delicate, exactly how crepes should be. And well done on the round shape!

I had never been a fan of cream cheese. I always thought it smelt gross, for whatever reason. But after having Jana’s crepes, I actually started liking it. The filling was soft, smooth and simply amazing. I could keep eating spoons full of it. In fact, I did have some with Oreo biscuits afterwards  😉

And the strawberry sauce. Yum is the only word I could think of. The problem I have with some sauces in restaurants is that they are a bit too sweet. But this one just went perfectly with the cream cheese filling. All in all, it was an amazing desert. 

We had some earl grey tea  (Twinings brand) with the crepes. I always find that earl grey is the best choice for afternoon tea. And look at Jana’s new pretty teapot cozy! Such cuteness. Thanks to it for making the photo more cozy looking ^.^

Jana, here’s to more awesome desserts 😉


Until next time, M.

Peanut Butter Sandwiched Cinnamon French Toast.

Image

Welcome to my new food blog. Ever since I’ve moved to Australia, I have been experimenting a few recipes, and thought it’s finally time I shared my experience.

I’d like to start it off with my latest experiment. I was searching for some inspiration for a home made brunch on a Sunday morning, and found a couple of interesting recipes, which I wanted to try out. And then thought, why not combine them all and make one! So here is something I came up with. I’m glad I decided to make it. I loved every bit of it, and so did my friend.

Here’s what you will need (two servings):

  • 2 eggs
  • 1/2 cup milk
  • 2 tsp condensed milk (if you have a sweet tooth)
  • 1/2 tsp cinnamon powder
  • Peanut butter
  • Six slices of bread (I used pumpkin seed)
  • Butter to grease the pan
  • A handful of almonds, banana slices and maple syrup to serve

Method:

  1. Mix the first four ingredients in a bowl. Set aside.
  2. Spread peanut butter on three bread slices and sandwich them with the rest to make three peanut butter sandwiches. Cut each into two,  
  3. diagonally.
  4. Pour the egg mixture on the sandwiches to coat them well.
  5. Grease a frying pan with butter on low heat. Be careful not to keep the heat too high, or else the butter would burn quite quickly and you’ll end up with black patched french toasts! Believe me, you do not want that.
  6. Transfer each sandwich to the pan, and cook them until golden brown on either side.
  7. Arrange the french toasts on a plate. Add the almonds and banana slices to the plate, and dash some maple syrup over them.

VOILA!

A brunch is never complete without tea. I had some rose and french vanilla tea with this beautiful dish.
Hope you enjoyed this recipe, and let me know how you go after trying it!

Until next time, M.

Archives

Keeping count

  • 2,280 hits